|
ARCHIVE IMAGES
Table of Contents
Introduction
Archive Images
Adjust Image
Alter Image
Alter Examples
...Repair Damaged Photograph
...Modify Image To Meet Your Needs
...Touch Up Aerial Photograph
...Touch Up Photograph
...Touch Up Art
Introduction
Images that have historical significance and/or are personally priceless should be scanned into
digital computer files and preserved in an archive for future researchers, historians, and
generations. Images may be adjusted using Microsoft Windows Photo Gallery which includes
adjustments for alignment (straightening) exposure, color, detail, black and white effects,
and others. If desired, images can be altered for just about any requirement by using a simple
raster graphics editor such as the Microsoft Paint program. There is no need for the additional
cost and complexity of expensive and complex editors such as Adobe Photoshop.
Archive Images
Guidelines for archiving images are provided in the 106 page National Archives document:
U.S. National Archives and Records Administration (NARA)
Technical Guidelines for Digitizing Archival Materials for Electronic Access:
Creation of Production Master Files – Raster Images
For the Following Record Types-
Textual, Graphic Illustrations/Artwork/Originals, Maps, Plans, Oversized,
Photographs, Aerial Photographs, and Objects/Artifacts
.
Refer to the following sections:
III. TECHNICAL OVERVIEW, Raster Image Characteristics: (pages 26-28)
IV. IMAGING WORKFLOW, Adjusting Image Files: (pages 39-40)
V. DIGITIZATION SPECIFICATIONS FOR RECORD TYPES (pages 51-72)
APPENDIX D: File Format Comparison (pages 91-94)
In general, for good quality and detailed analysis (e.g. zooming into image to examine details)
it is suggested that images be scanned at 300 dots per inch (DPI) with higher resolutions as
necessary for high resolution aerial photographs etcetera.
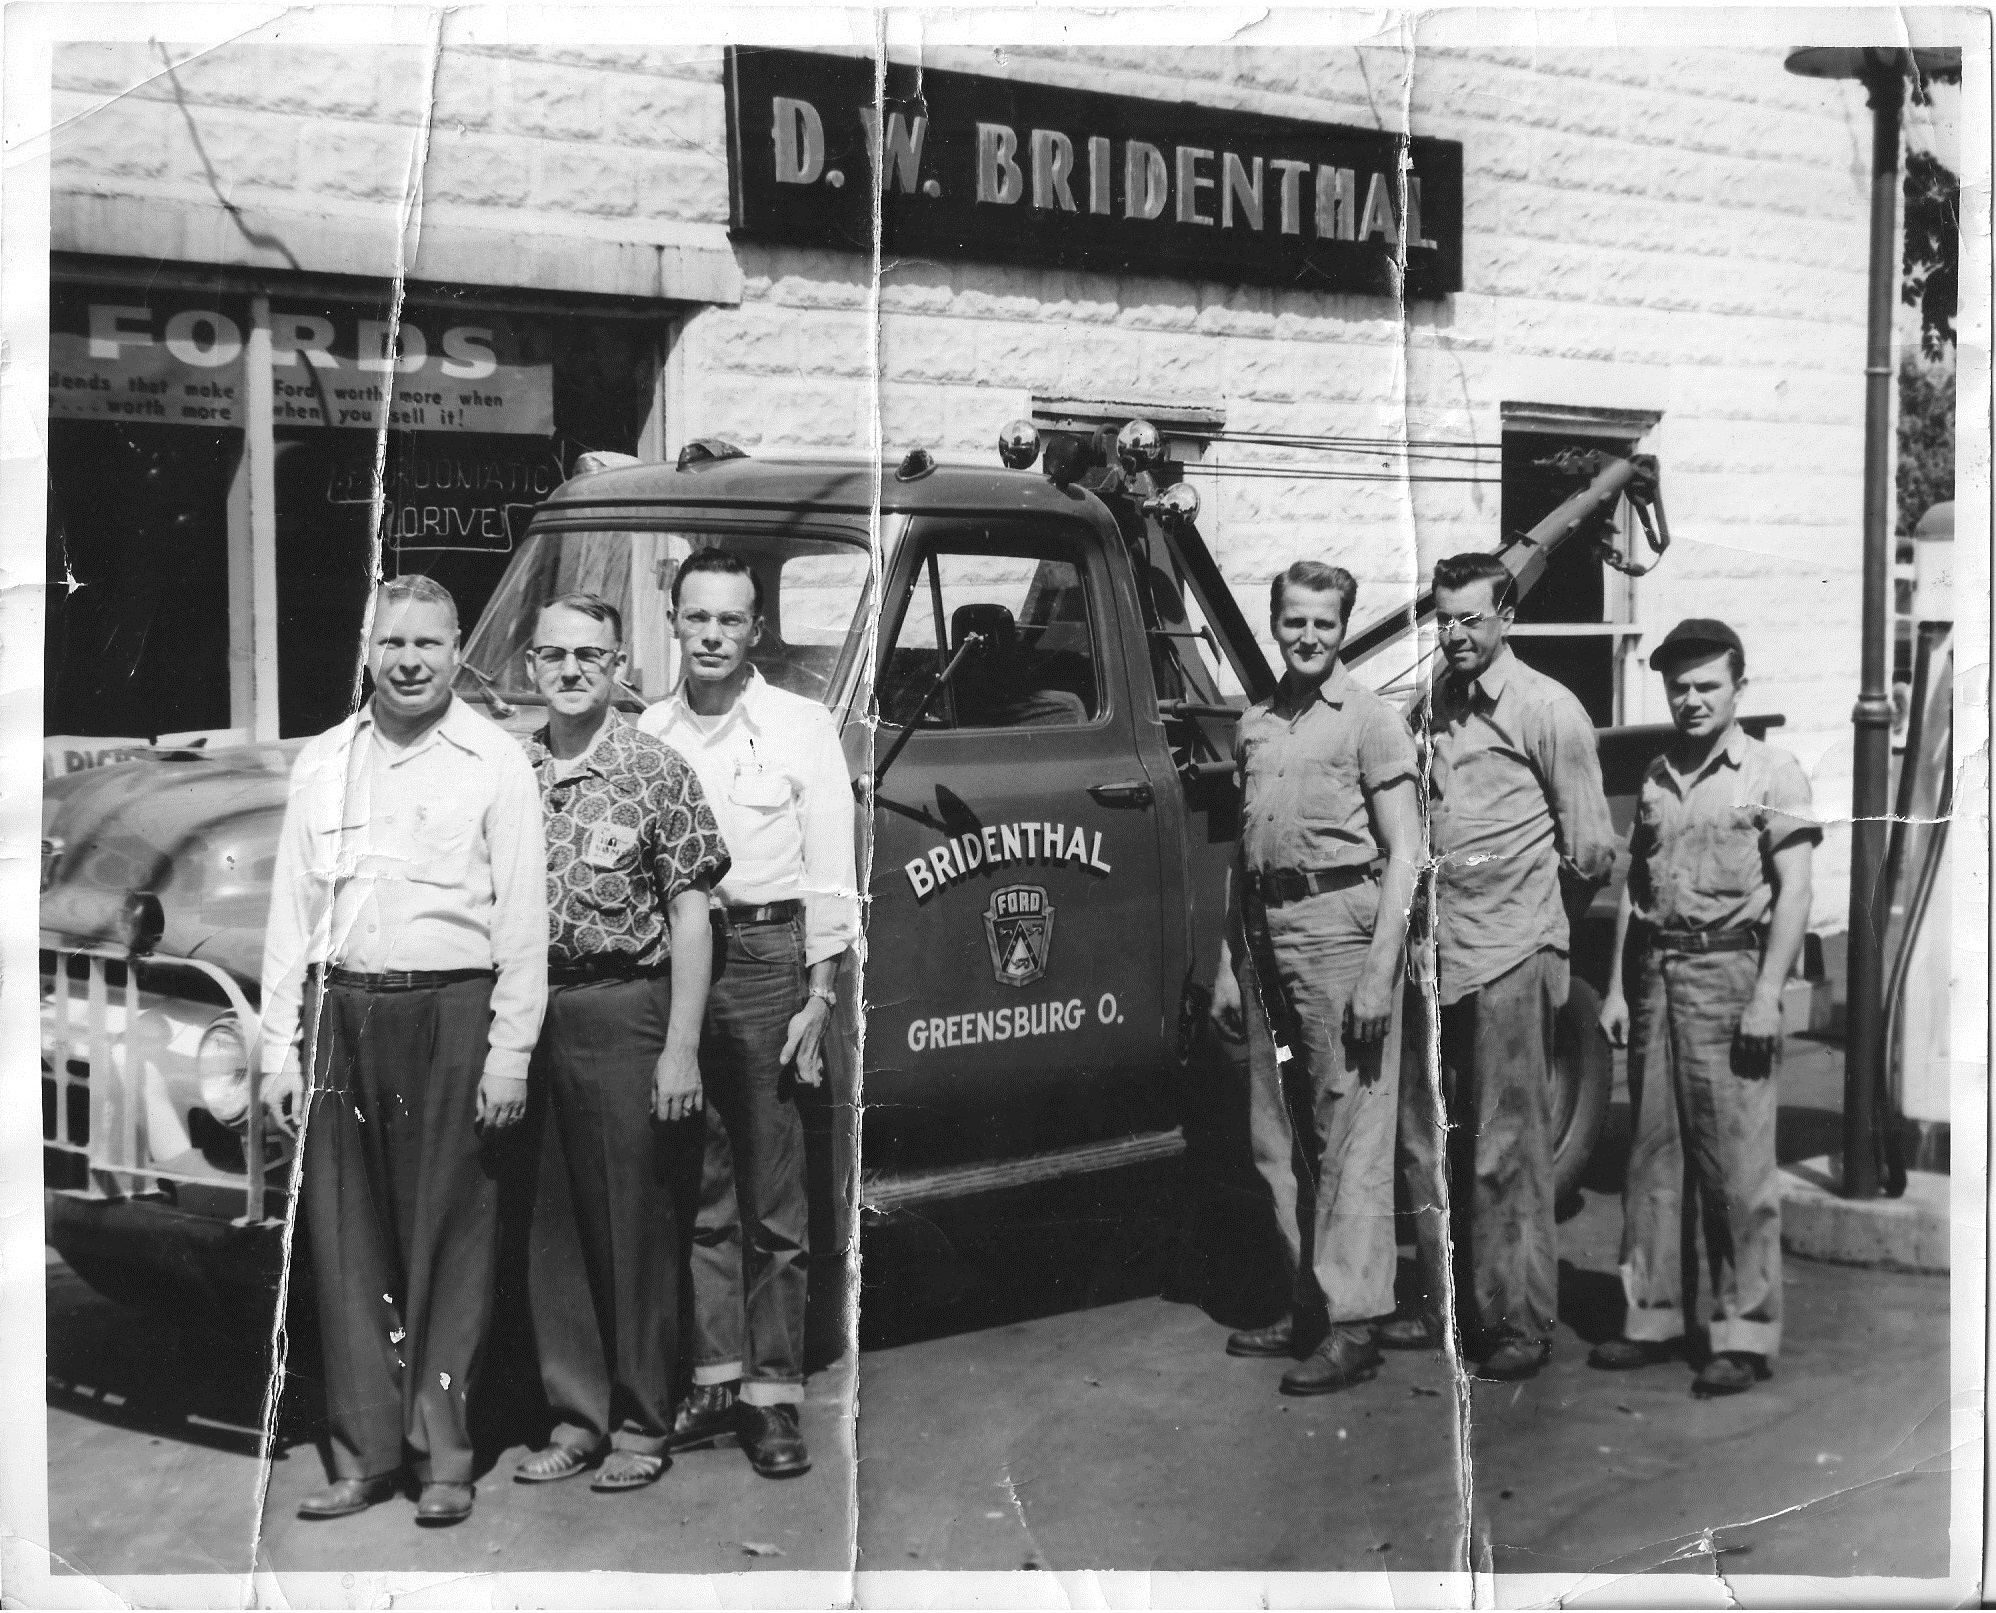
The photographs below were taken with a Canon AE-1 35mm Camera and scanned with a Hewlett
Packard Scanjet 2200c Scanner and saved in Device Independent BitMap (BMP) (lossless) files and
Joint Photographic Experts Group (JPG) (lossy) files.
Click on the 'NEXT' button to go to the next image or 'BACK' to go to the previous image.
Click on 'ZOOM IN' or 'ZOOM OUT' to zoom in and out of the image or "NORMAL'
to restore the image to the initial size.
Zooming is most effectively performed by clicking on 'ZOOM IN' or 'ZOOM OUT'
and then pressing the enter key repeatedly as desired.
Panning is most effectively performed by using the cursor keys.
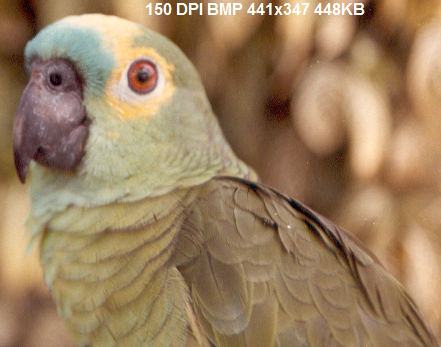
The set of images below are of a 2.9" x 2.3" portion of a 4.9" x 3.5" photograph and consist of
150, 300, and 600 DPI BMP files and 600, 300, and 150 DPI JPG files.
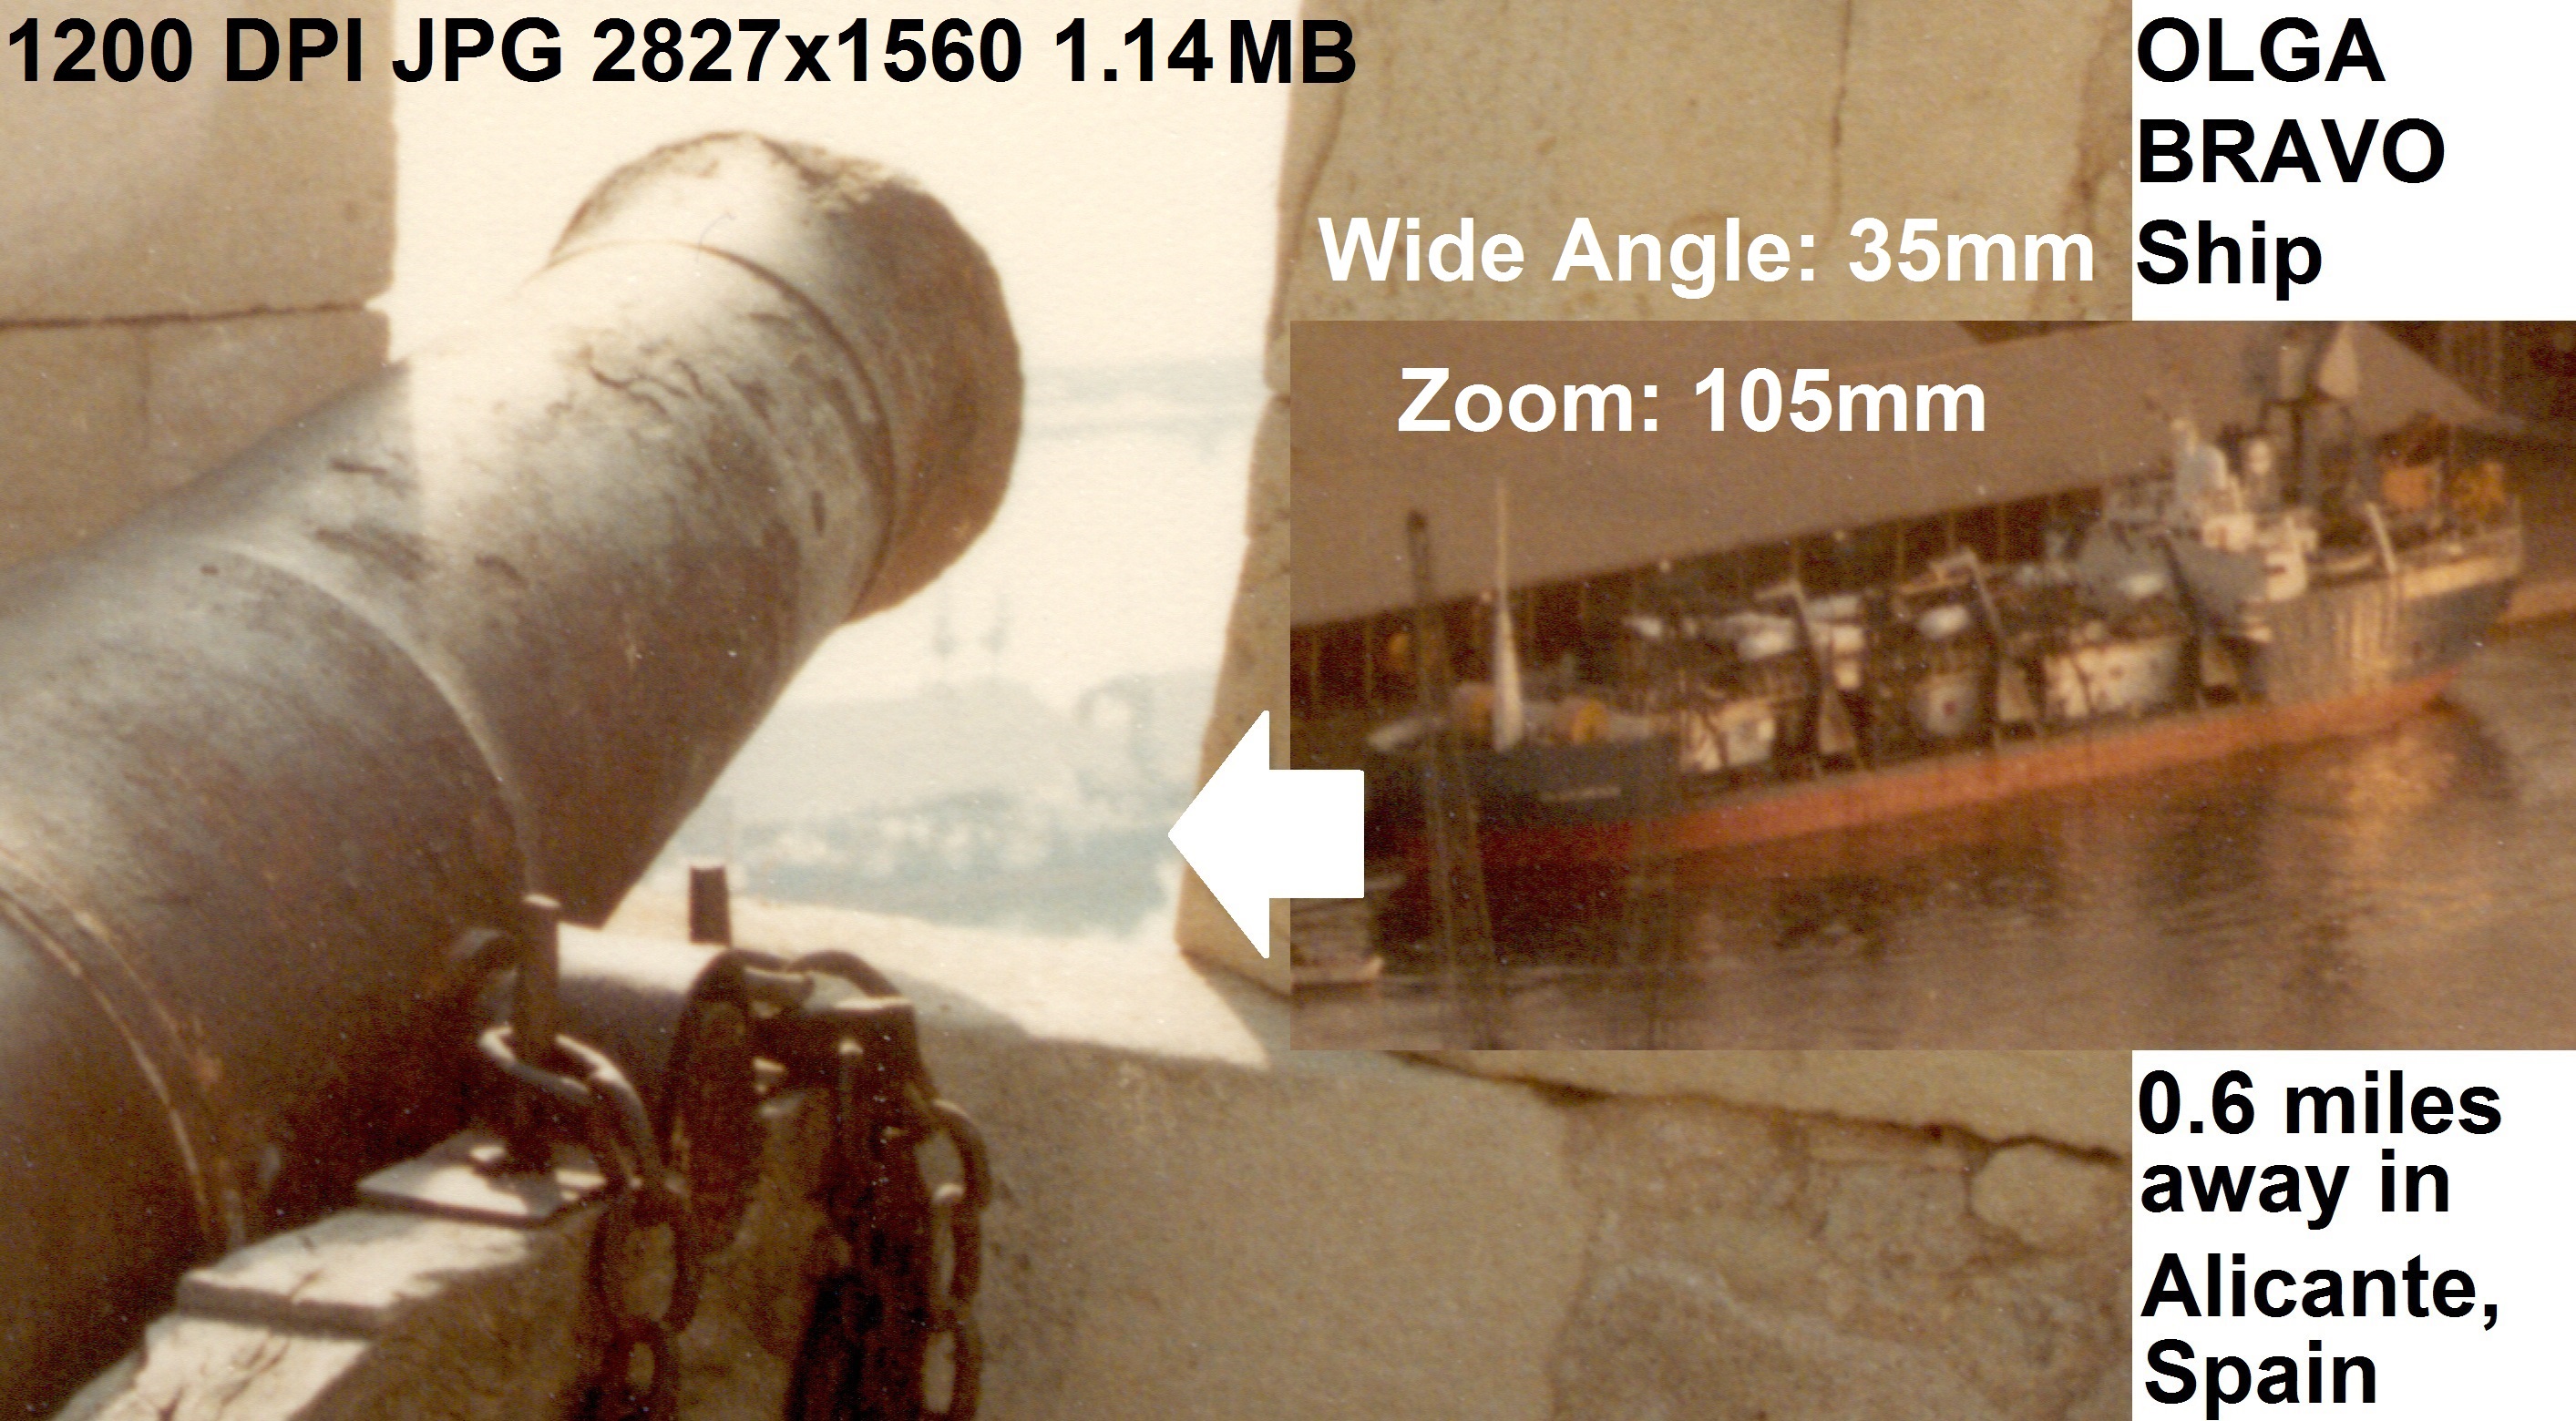
Portions of 2 photographs are combined below, which have a total area of about 2.3" x 1.3".
The portion on the left was taken with wide angle (35mm) and the right with zoom (105mm).
Both portions include the Olga Bravo ship, which is also shown at
OLGA BRAVO.
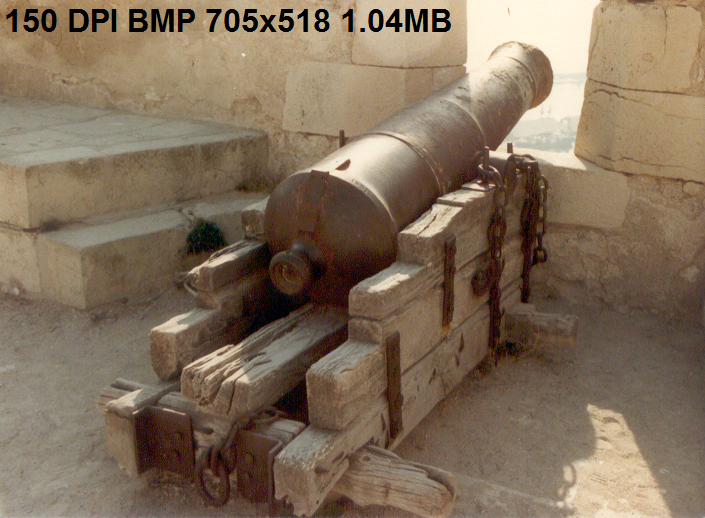
The set of images below are of a 4.7" x 3.4" photograph and consist of
150 and 300 DPI BMP files, 300 and 150 DPI JPG files, and 150, 300, and 600 DPI JPG Grayscale files.
Other results using various cameras are provided at
Photo Tests.
Adjust Image
Microsoft Paint does not provide the capability to rotate an image in less than 90 degree
increments but Microsoft Windows Photo Gallery does provide that capability along with the
ability to adjust exposure, color, detail, black and white effects, and others.
Windows Photo Gallery can perform an "Auto adjust" but that can produce undesired results
to "Straighten photo". Therefore, if the "Auto adjust" feature is used, it may be best to add
a wide border around the original image, perform the "Auto adjust", then "Straighten photo"
manually if necessary, and then finally remove the added border.
Alter Image
After an image is adjusted by Windows Photo Gallery, it may then be altered by Microsoft Paint.
Microsoft Paint may be used to alter an image for any of the following reasons:
1. Repair damaged photograph
2. Modify image to meet your needs
3. Touch up aerial photograph
4. Touch up photograph
5. Touch up art
Altering an image is accomplished by performing the following steps:
1. Open the digital file with Microsoft Paint
2. Zoom close into an area to be altered
3. Copy an area adjacent to area to be altered that best matches the desired area colors
4. Paste the copied area over the area to be altered
5. Repeat steps 2 through 4 till the image has been altered as desired
This method also works well to remove weeds, trash, or other blemishes from a photograph.
Note too that when one side of a symmetrical area needs to be altered, the opposite side may
be copied, then reversed, and then pasted over the area to be altered.
Alter Examples
Examples are provided in the sections that follow.
Click on the 'CHANGE' button to change between the original and altered image.
Click on 'ZOOM IN' or 'ZOOM OUT' to zoom in and out of the image or "NORMAL'
to restore the image to the initial size.
Zooming is most effectively performed by clicking on 'ZOOM IN' or 'ZOOM OUT'
and then pressing the enter key repeatedly as desired.
Panning is most effectively performed by using the cursor keys.
Repair Damaged Photograph
The techniques described above were used to repair the damaged photograph below:
Modify Image To Meet Your Needs
The techniques described above were used to remove text and other items from and
add the letter 'S' to the image below:
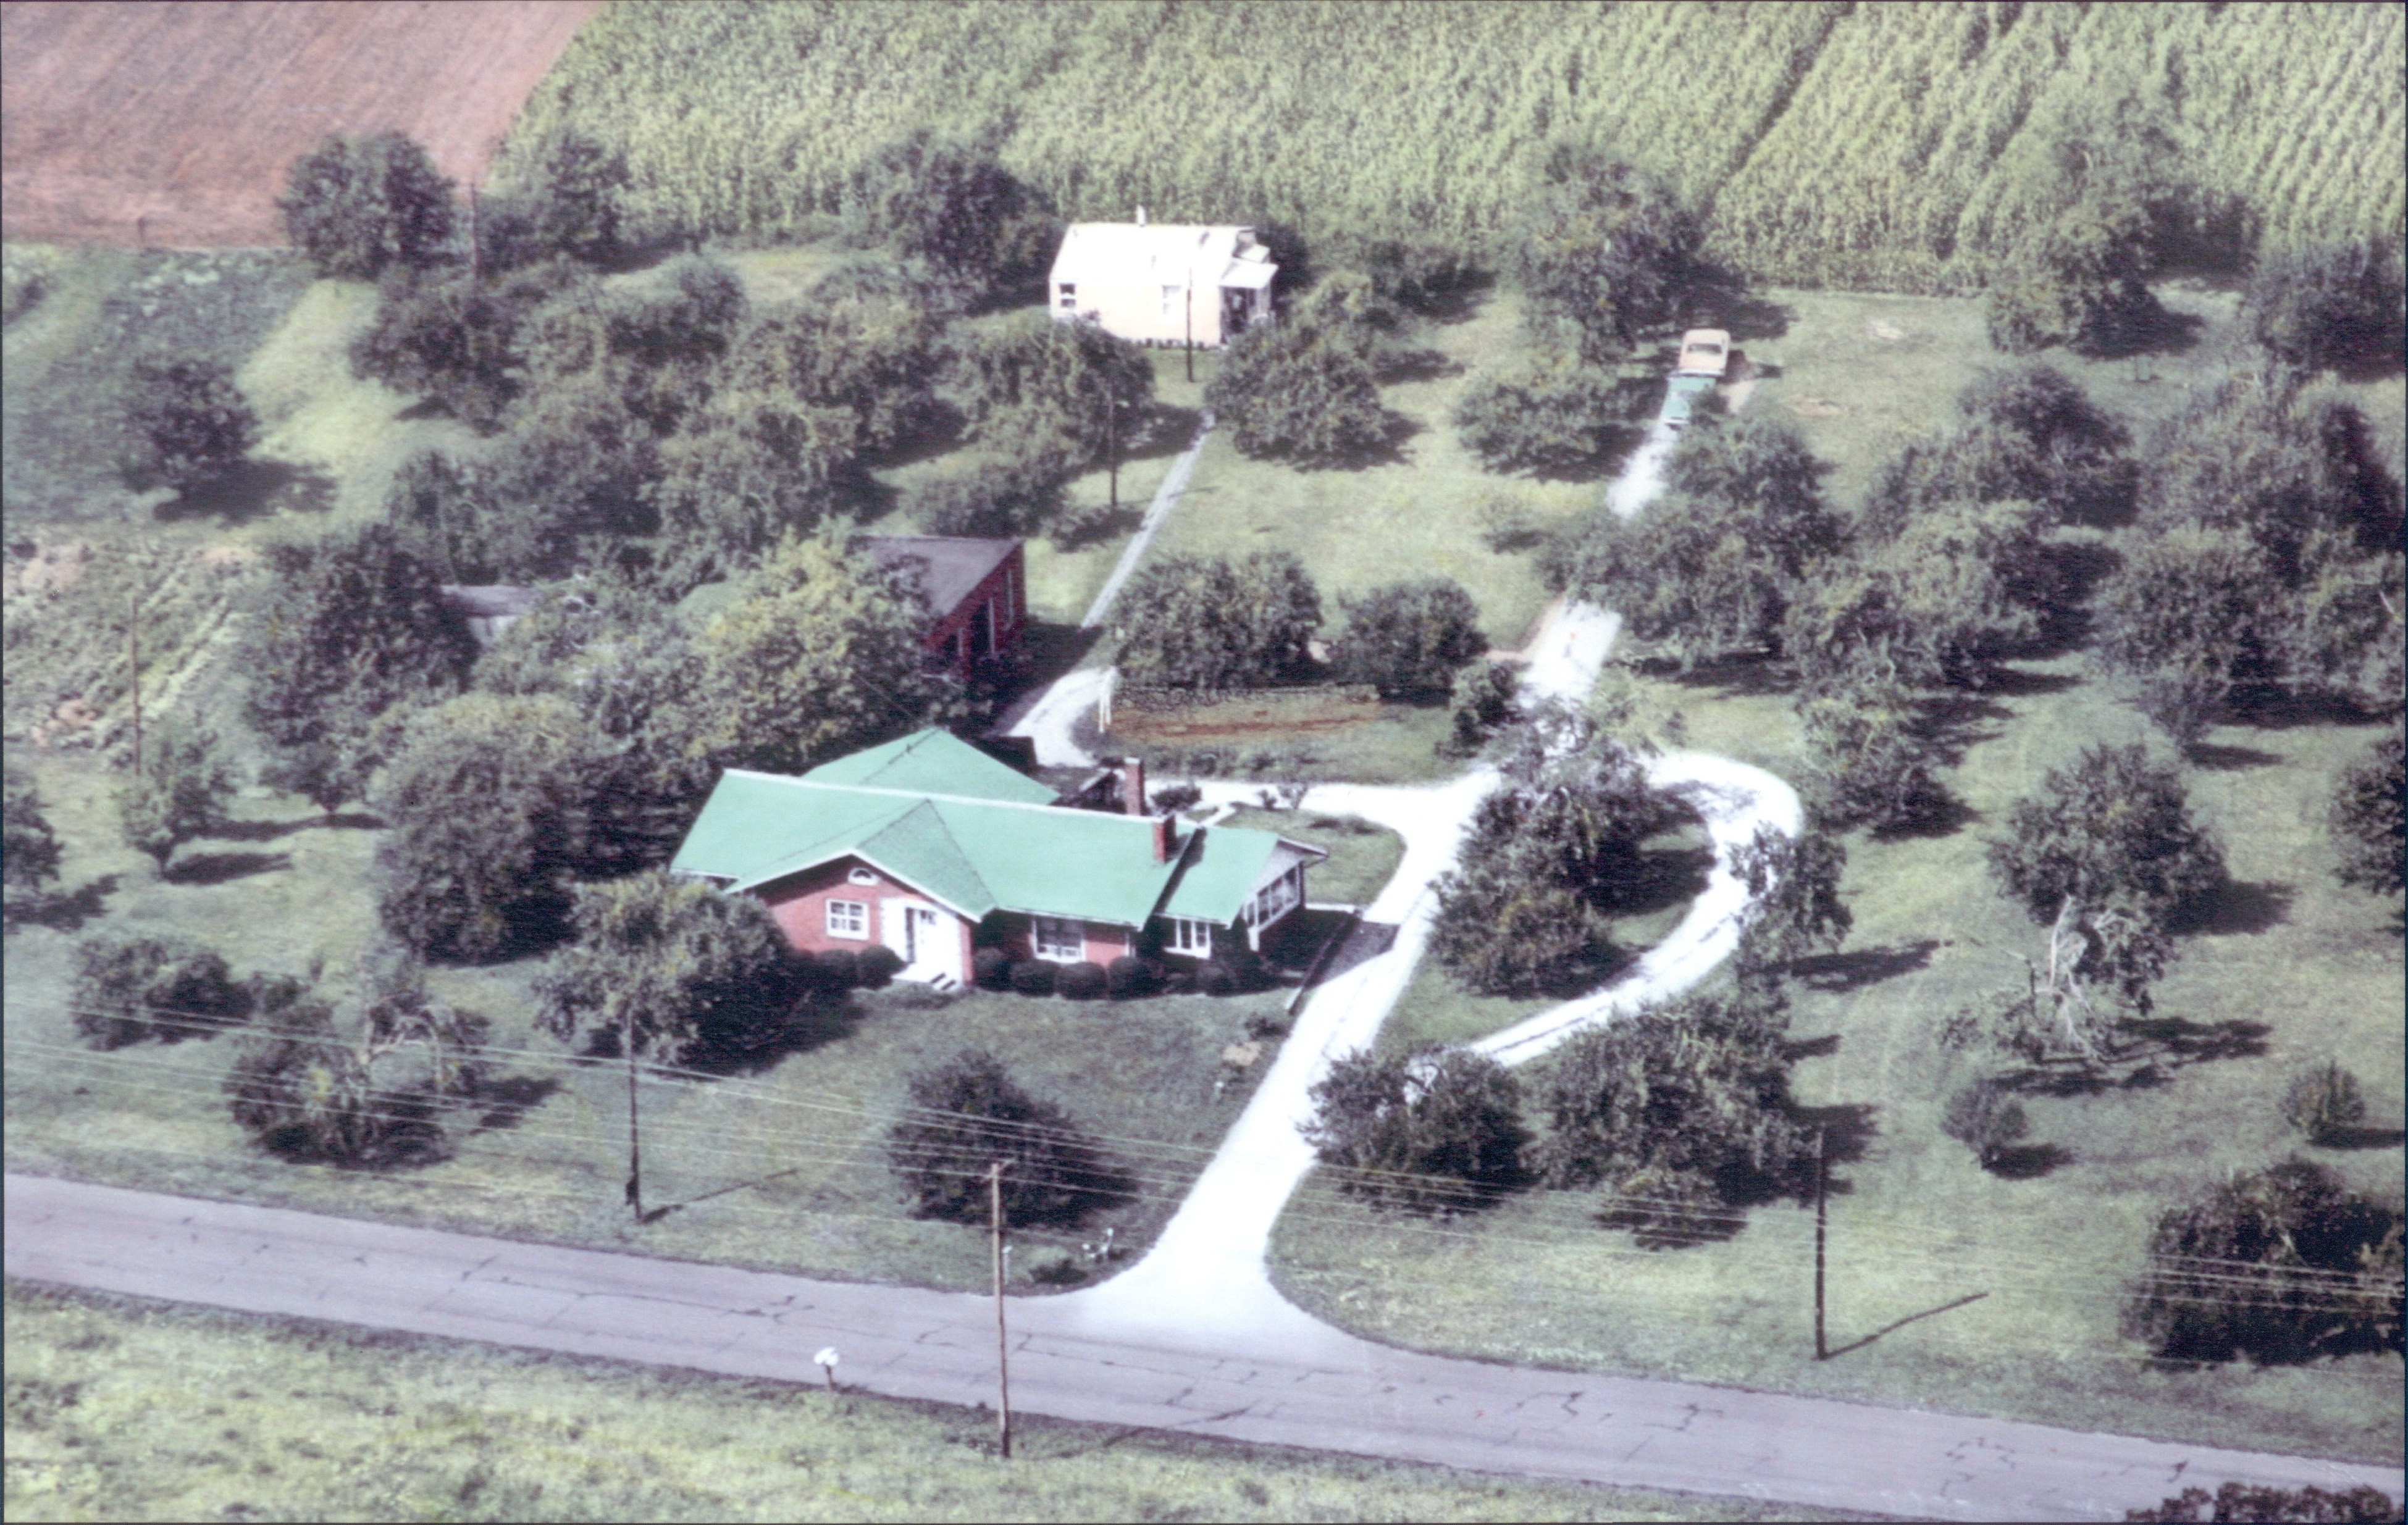
Touch Up Aerial Photograph
The techniques described above were used to remove weeds from the driveway and
remove excess tar from the road in the aerial photo below:
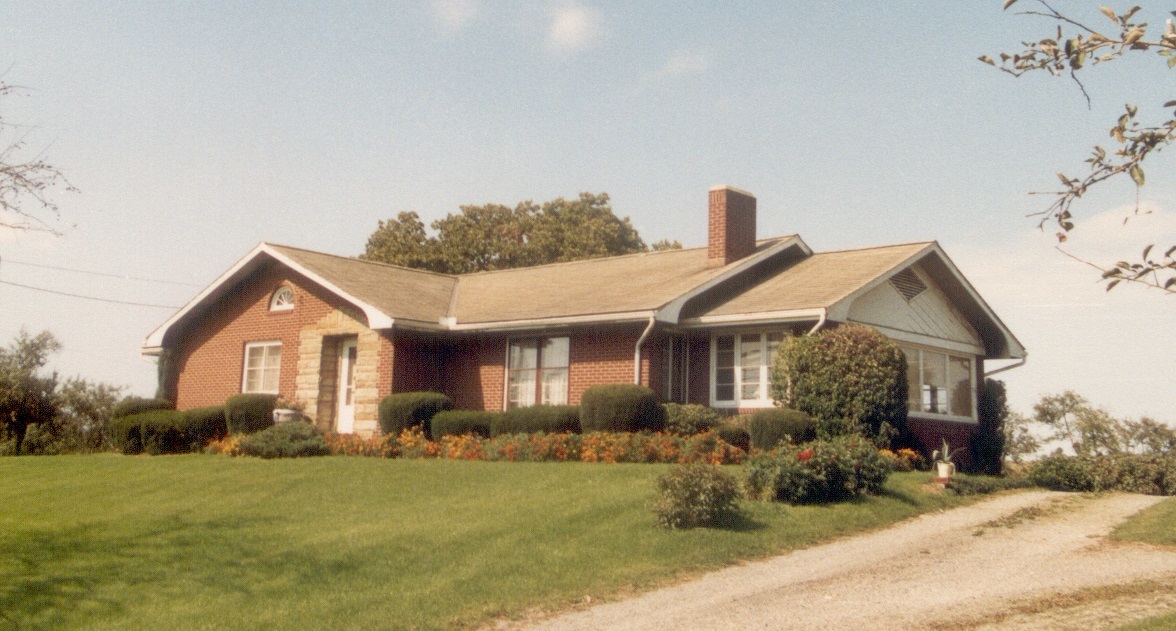
Touch Up Photograph
The techniques described above were used to remove weeds from the driveway and
add missing grass in the photo below:
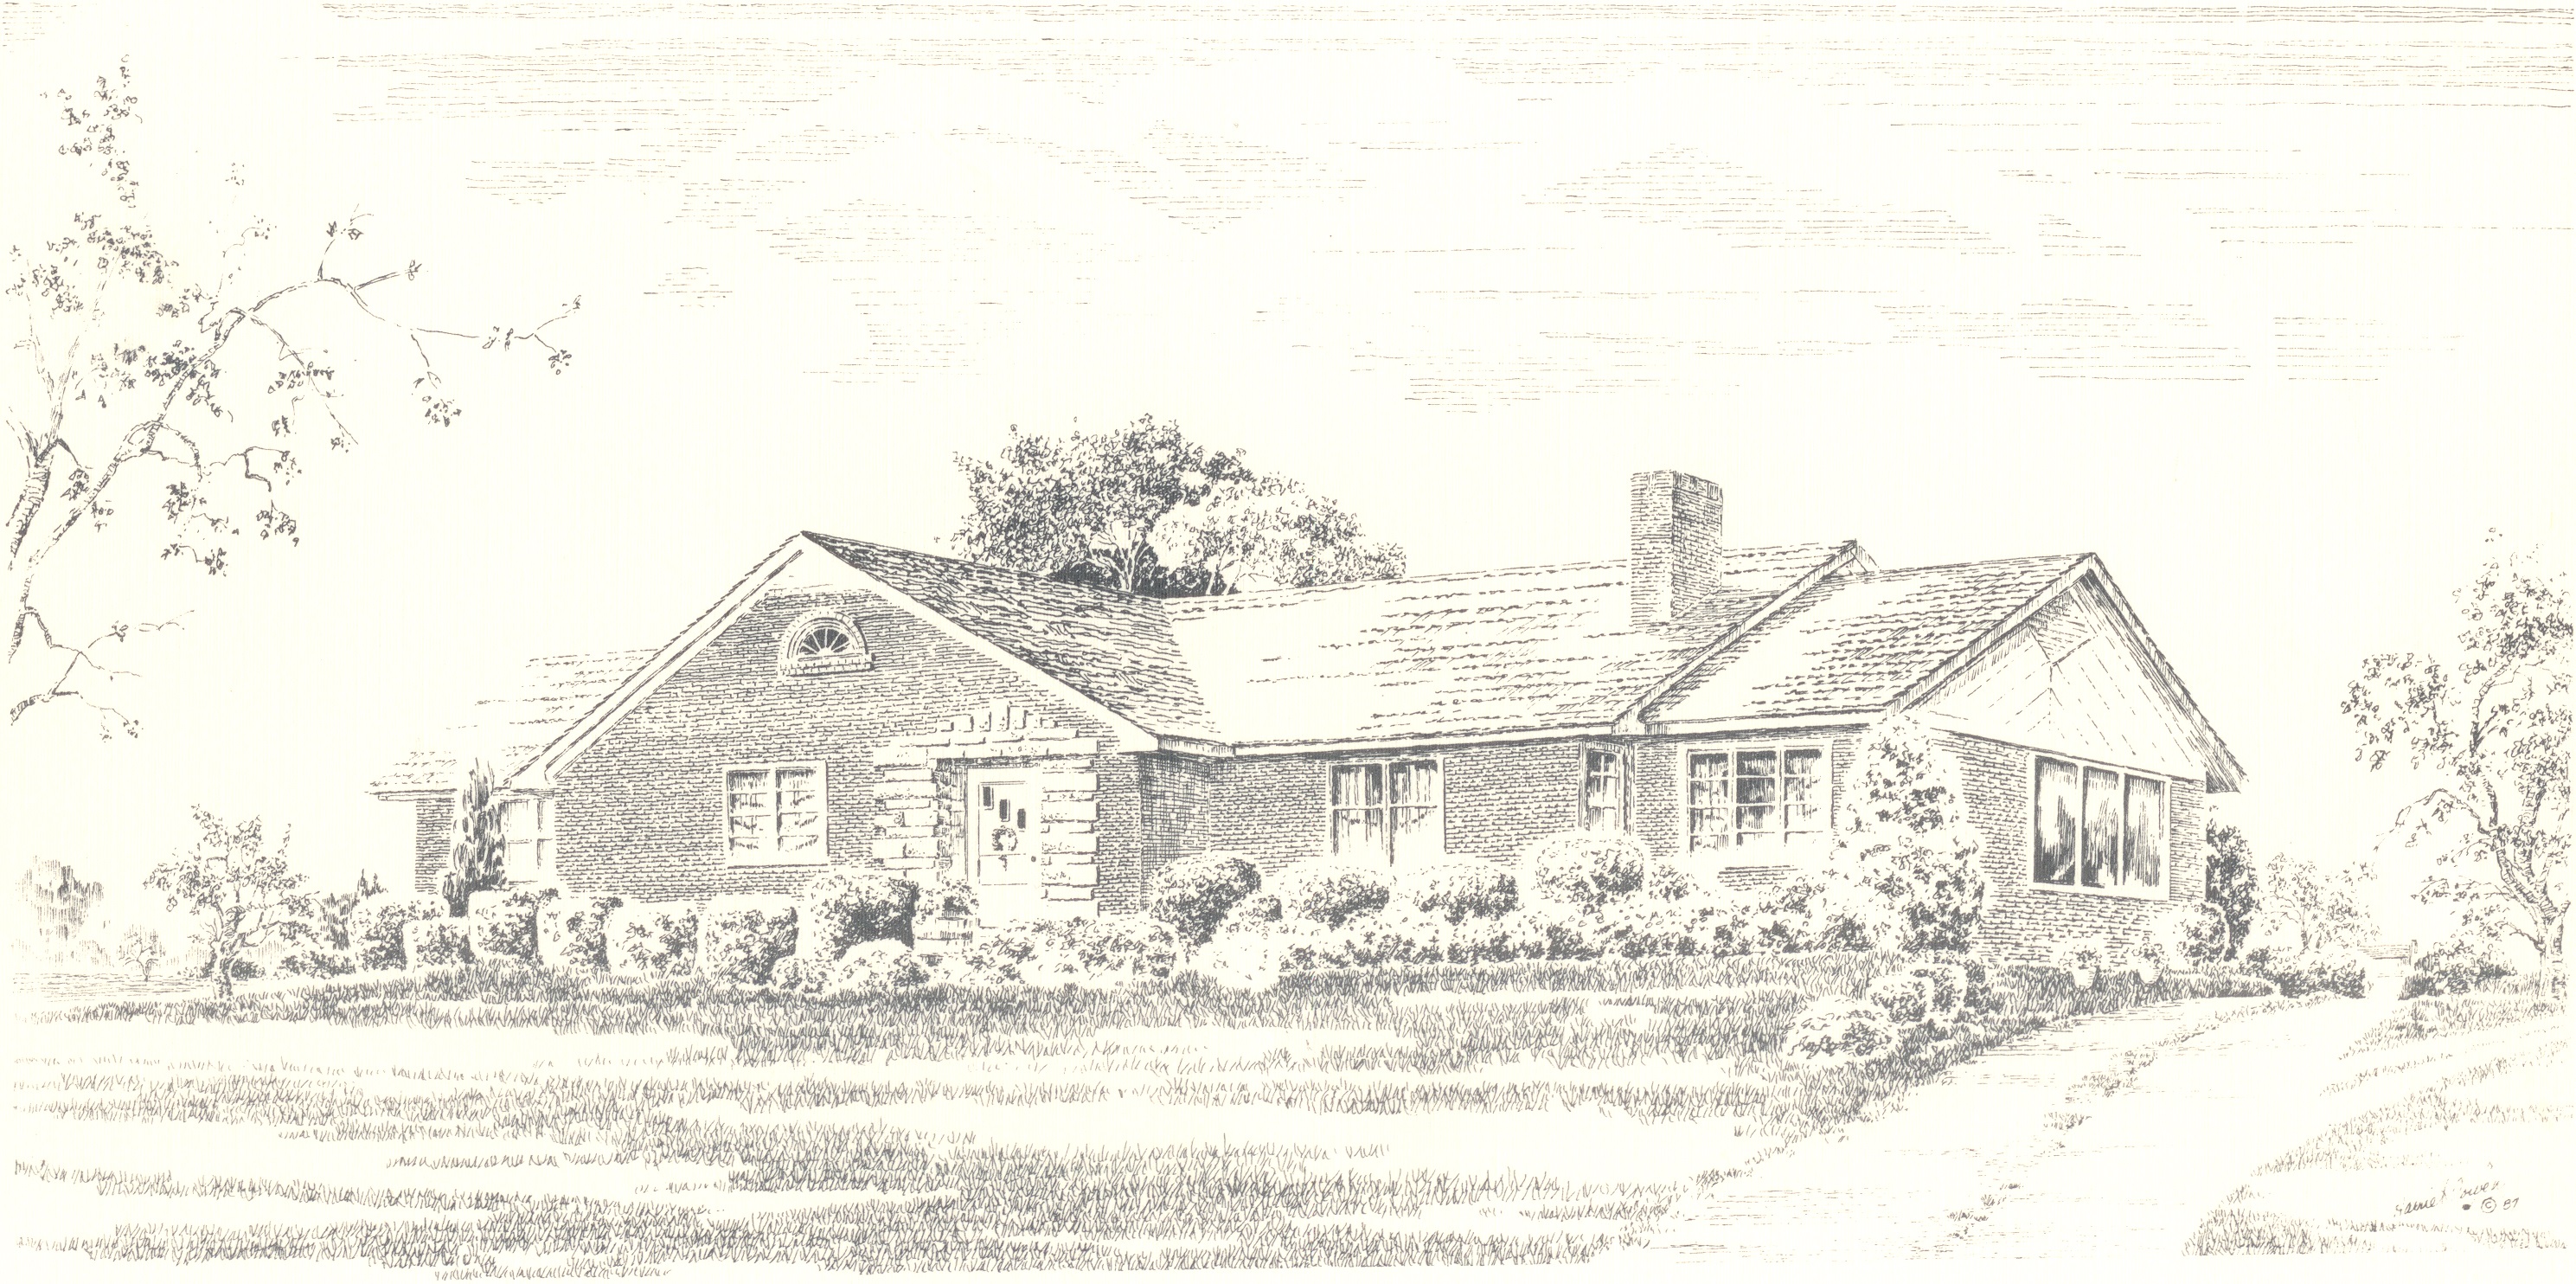
Touch Up Art
The techniques described above were used to remove weeds from the driveway in
sketch below:
|